How to upload and attach enrollment documents
Step 1 SCAN Gather the documents you need. Scan them to a PDF file with a scanner or by using a mobile device. See below for how to use a mobile device to scan documents.
Step 2 SAVE Save the scanned document to the computer or device you will be using. It is important that you save the document file to the device you will be using because it will be easier to upload the documents files.
Step 3 ATTACH TO THE ENROLLMENT FORM When you begin the enrollment form process you will be asked to upload and attach the required documents you saved.

CLICK ON THE ATTACH FILES BOX
A popup will appear for you to select and attach your document(s) for the required type. You will need to do this each time you move to a new required document.
SELECT WHERE YOU SAVED THE DOCUMENTS. IF YOU SAVED TO THE DEVICE YOU ARE WORKING ON SELECT COMPUTER DRIVE AND CHOOSE LOCAL FILE

A new popup will open.
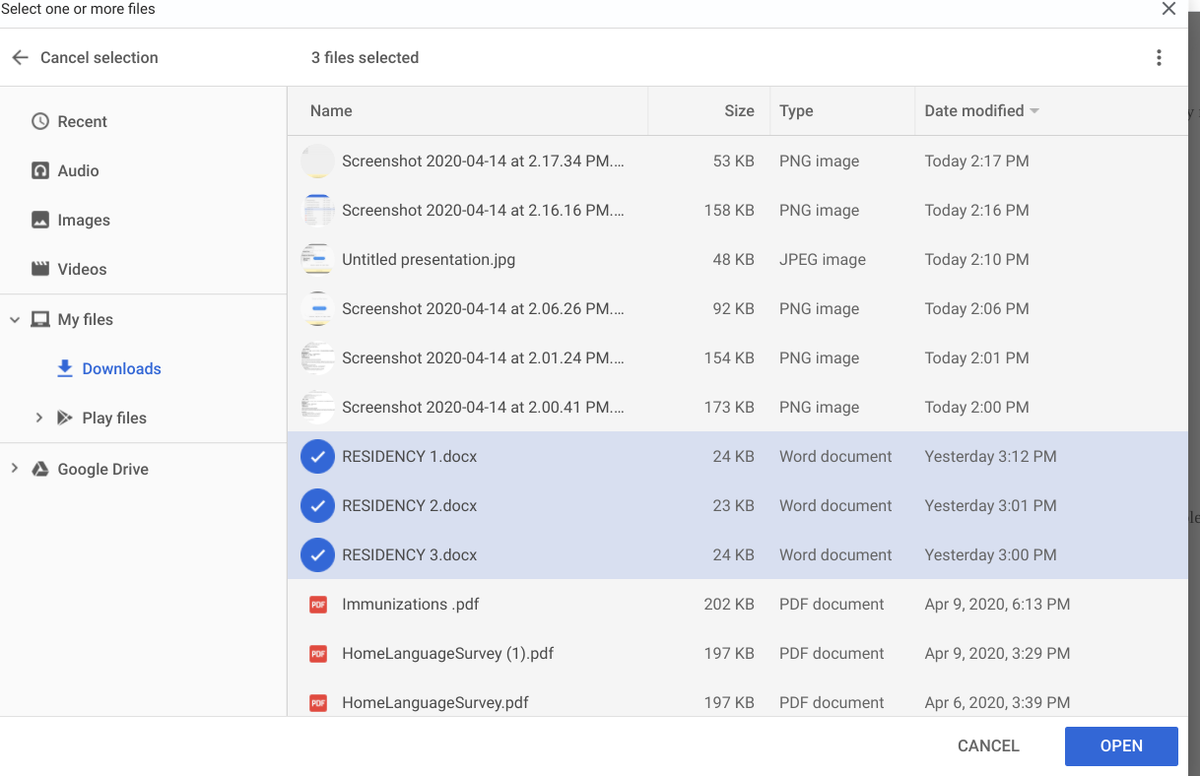
SELECT THE FILE(S) YOU WANT TO ATTACH.
If you want to select more than one file/document then hold shift down and click on the files you want to attach.

Another popup will open showing you which files you selected and asking if you would like to attach them.
CLICK ON DONE.
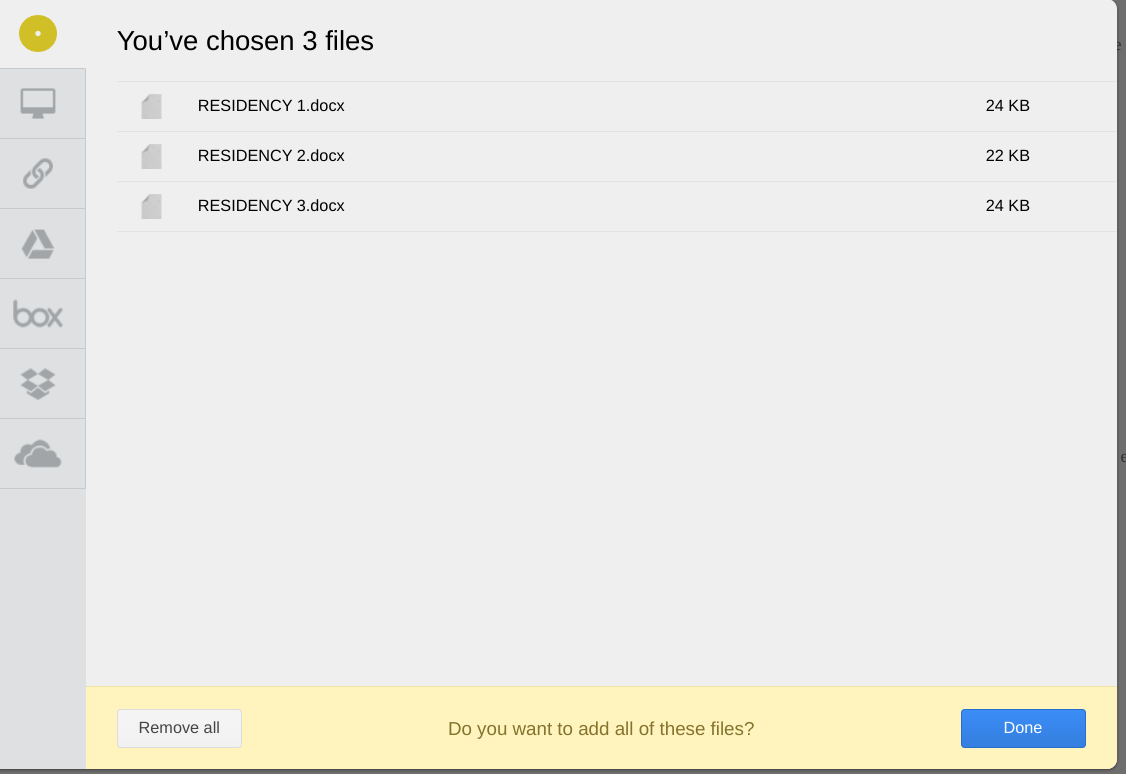 <--- CLICK DONE
You will see the files attached to the form. Note: if you are attaching photos or large files it may take time for the files to appear.
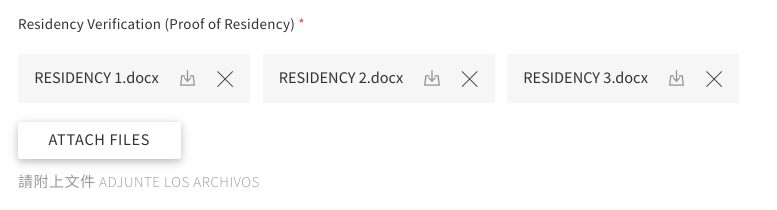
You may proceed if you do not see them right away. But, come back to check before submitting the form.